
NOTE: Some features displayed in this article are only available to Administrators. If you are unable to perform the actions outlined in this article, contact your Software Administrator.
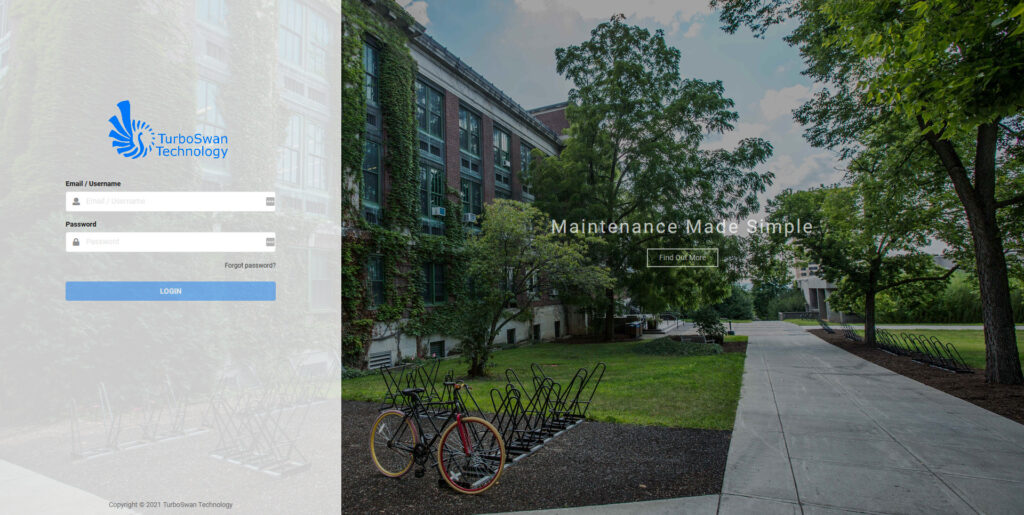
Step 1 – Navigate to the Login Webpage for your organisation. Login to your account.
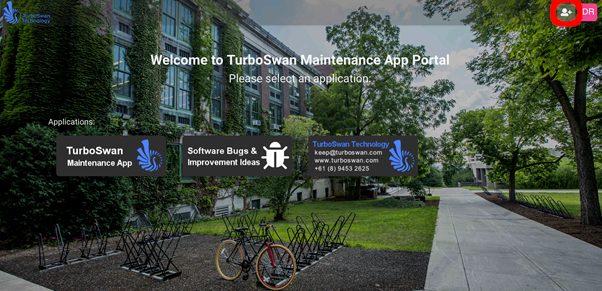
Step 2 – On the landing page, Click on the ‘New User’ Icon in the top-right of the page.
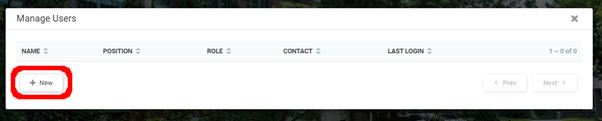
Step 3 – At the bottom left of the “Manage Users” Page, click the “+ New” button to add a new user.
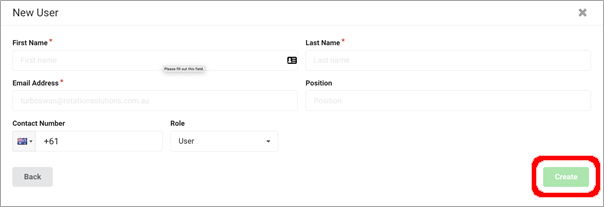
Step 4 – Enter the desired details for the new user. Press the “Create” button to confirm.
NOTE: Required fields are marked with an asterisk (*)
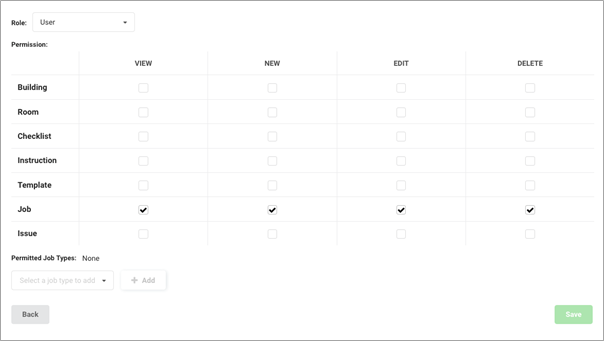
Step 5 – Select the desired Role for the user. Choose the permitted activities that the user has for different features within the App. Add the permitted job types using the dropdown at the bottom of the page. Press “Save” to confirm the changes made.
Step 6 – On creation of the account, an email will be sent to the specified address alerting the person the account has been created. The email will instruct the user on how to access their account.
NOTE: If email is not received within 5 minutes, please check junk / spam inbox.