Step 1 – Navigate to the Checklists tab on the left hand panel.

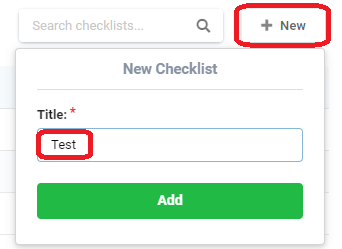
Step 2 – Press the “+ New” button at the top right of the screen, type in the title for the new checklist and click “Add”.
Step 3 – Press the “+ Add an Item” button.
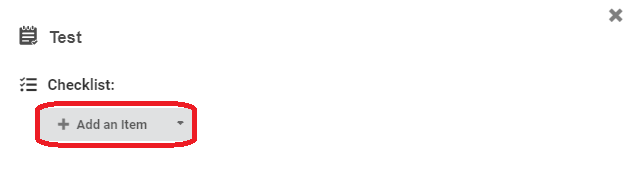
NOTE: If you have an existing checklist that you wish to use as a guideline or template – you can press the down arrow to the right of the “+ Add an Item”, type to start searching for the relevant list – select the list and click “Import” – see below “Edit Checklist” for further instructions.
Step 4 – Enter the checklist item and click “Save”/”Add” after each checklist item.
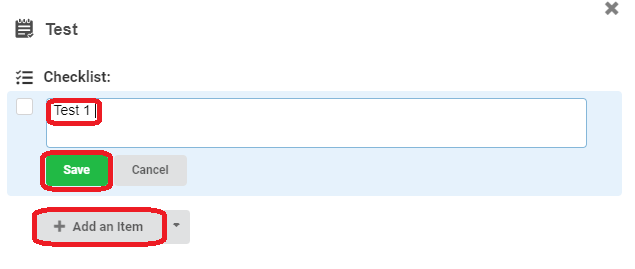
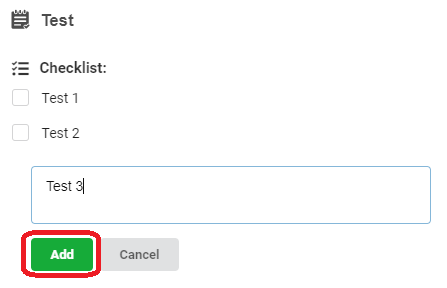
NOTE: Repeat Steps 3 and 4 until you have completed the checklist
Step 5 – Once you have completed your list – you may now exit the screen by either clicking the “X” or navigating to a new screen.
Edit Checklist
Step 1 – Navigate to the Checklists tab on the left hand panel, then select the checklist you wish to edit.
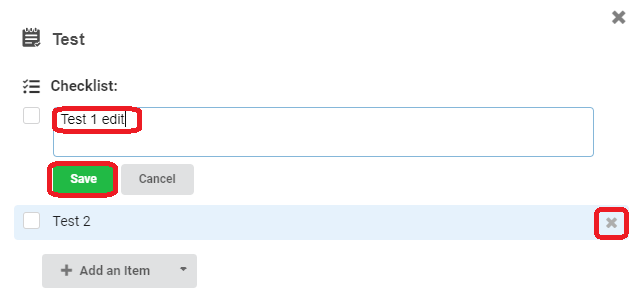
NOTE: To edit a line item – click on the line you wish to change – amend the text and press save.
NOTE 2: To delete – hover over the line item and click the “X” on the right hand side of the highlighted line.