
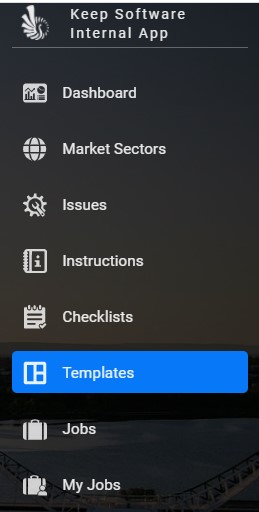
Step 1 – Navigate to the Templates tab on the left hand panel.
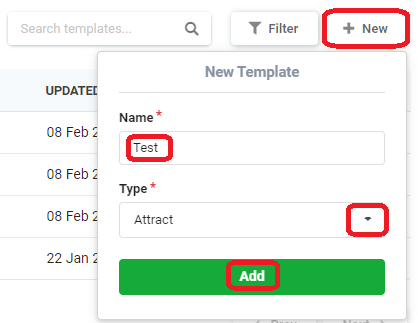
Step 2 – Click “+ New”, type in the name for the new template, select the type of template from the drop down list then click “Add”
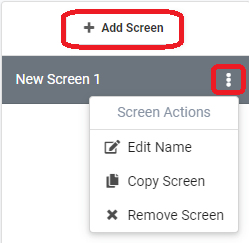
Step 3 – To begin building your template click “+ Add Screen”
NOTE: Click the 3 dots to Rename the Screen, Remove the Screen or Copy the Screen.
NOTE 2: To add more screens click “+ Add Screen” again – there are no limits to how many screens you can have in 1 template – however we would suggest no more than 15 screens as the job can become too lengthy.
Step 4 – Using the components on the left build your screen.
NOTE: Either single click on each component to add to the current screen or click and drag into position.
NOTE 2: To re-position the components click and drag.
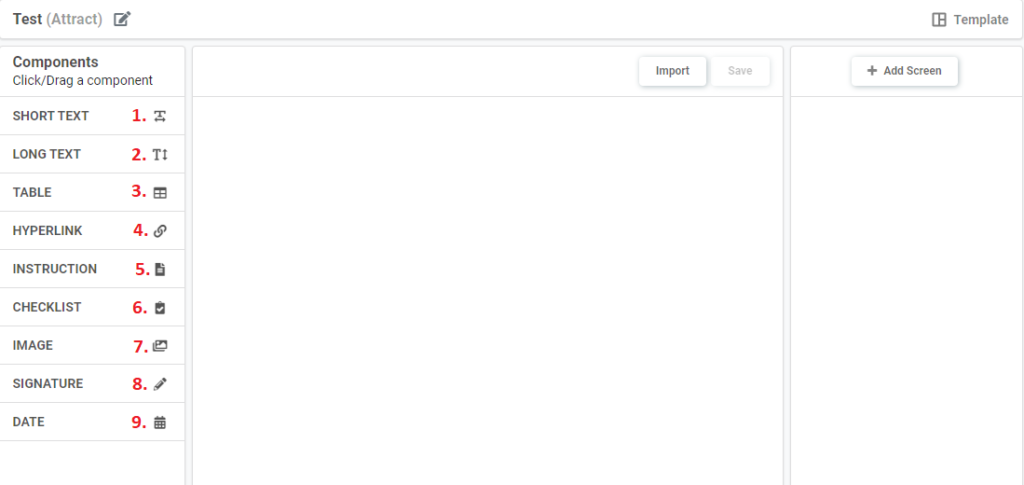
- Short Text – to capture things like name, title, location
- Long Text – to capture longer explanations such as job description or comments
- Table – to capture a range of short items in a table format
- Hyperlink – to navigate to an external website
- Instructions – if you have an existing PDF or file you can upload these to the instructions tab and display them on the template
- Checklist – a list of items which can be checked off (refer to Creating Checklist for more instructions)
- Image – to allow staff or contractors to add their own images
- Signature – a digital signature is required
- Date – input the date the task was completed
Step 5 – Save the template.
NOTE: The template will auto save after a few seconds of activity – if this has not occurred please click on the save button to save changes – the save button will change from BOLD to transparent once the template has been saved.
Template needs saving:

Template has been saved:

NOTE: In order to add a template to a Job you need to first assign the templates in each of the structures that require the template to be used (please see Creating a Job Schedule for more details)