NOTE: The following method outlines the recommended way to quickly create a new issue/maintenance request. New issues can also be created from within the structure (e.g. building, room) that the issue pertains to.
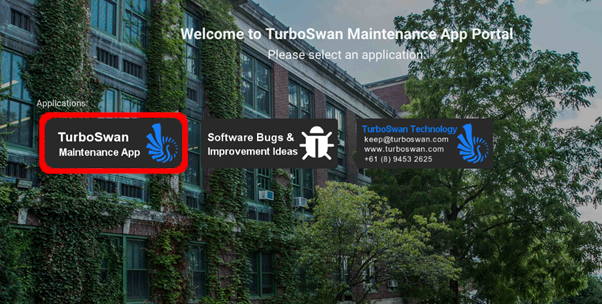
Step 1 – Navigate to the Application
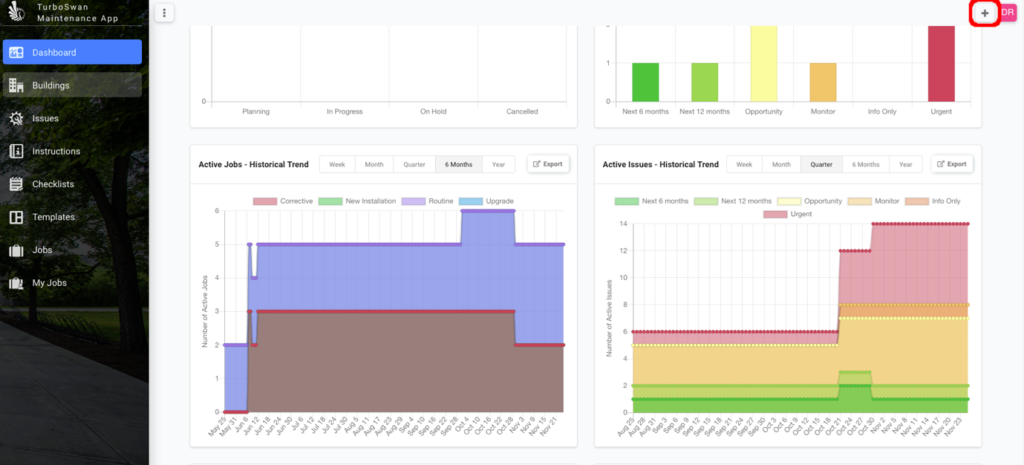
Step 2 – While on any page (i.e. Dashboard), Press the “+” button at the top right of the screen.
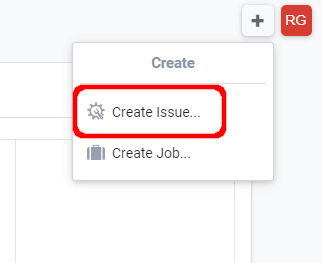
Step 3 – Once “+” is pressed, a pop-up will display to allow the user to create an Issue or Create a Job. Press the “Create Issue” Button.
NOTE: The “Create Issue” or “Create Job” buttons will only display if the user has the assigned permissions to Create New Issues or Jobs – contact your Software Administrator if they are not visible.
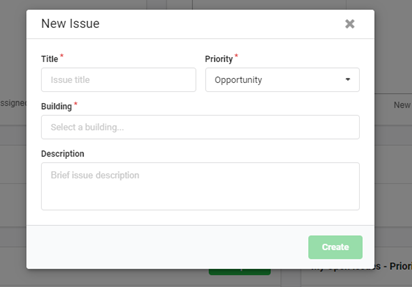
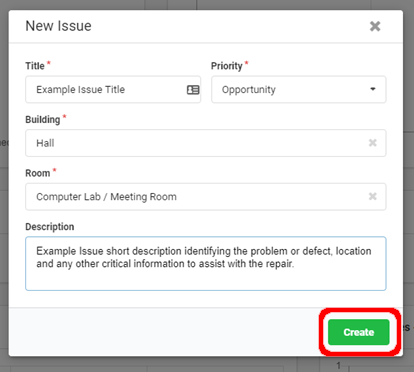
Step 4 – Once “Create Issue” is pressed, a New Issue Pop-up will display, allowing the User to Add the Issue, Assign the Priority, search for the appropriate location and add a description.
- Issue Description – A short description of the issue or request for the admin users to assess for action.
- Priority – Detail how urgently issue needs to be rectified.
Step 5 – Once all the new Issue data is input, click the “Create” button to be taken to the new issue Screen.
NOTE: If the user is unaware of the location by searching, if they hit the spacebar button, a list of all available Buildings will show to select the right one. This can be repeated for rooms.
NOTE 2: Items with a red Asterisk (*) are needed to allow the user to create the issue.
Step 6 – The new issue pop-up will then display on the screen. The user can then add / edit information as per below:
- Issue Description
- Priority
- Attach File
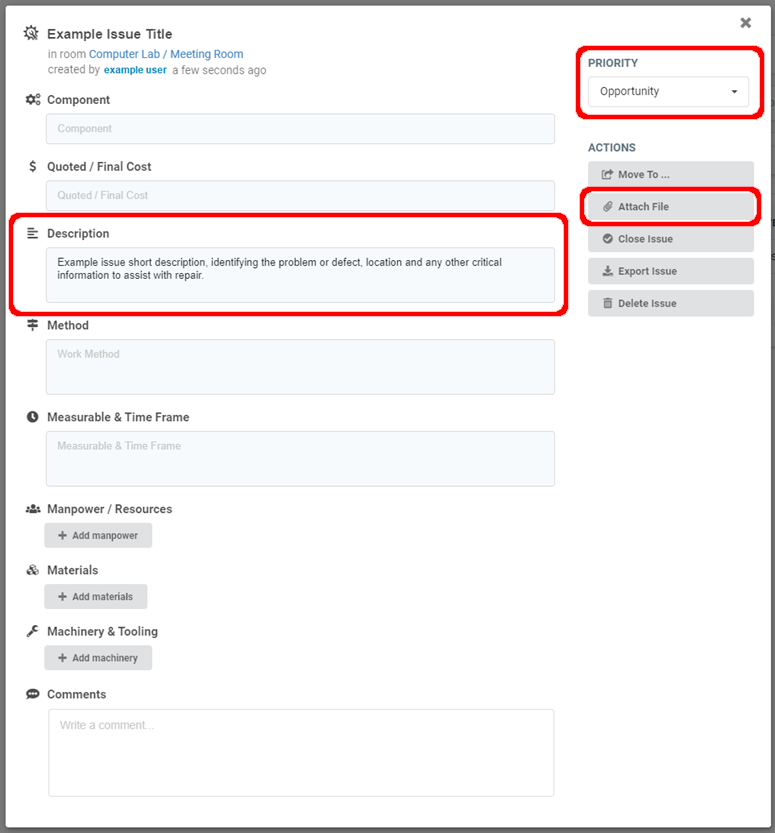
Step 7 – Issue is now created for action. User will be notified by email when issue is completed and can navigate to issue screen to confirm status or comments input. Once an issue is closed, it can be viewed in the “Closed” issues for a room by changing the filter.
NOTE: If an issue has been incorrectly created, contact an admin user to delete or close and leave this information within the comments section.
