NOTE: Some features displayed in this article are only available to Administrators. If you are unable to perform the actions outlined in this article, contact your Software Administrator.
Step 1 – Navigate to the Application

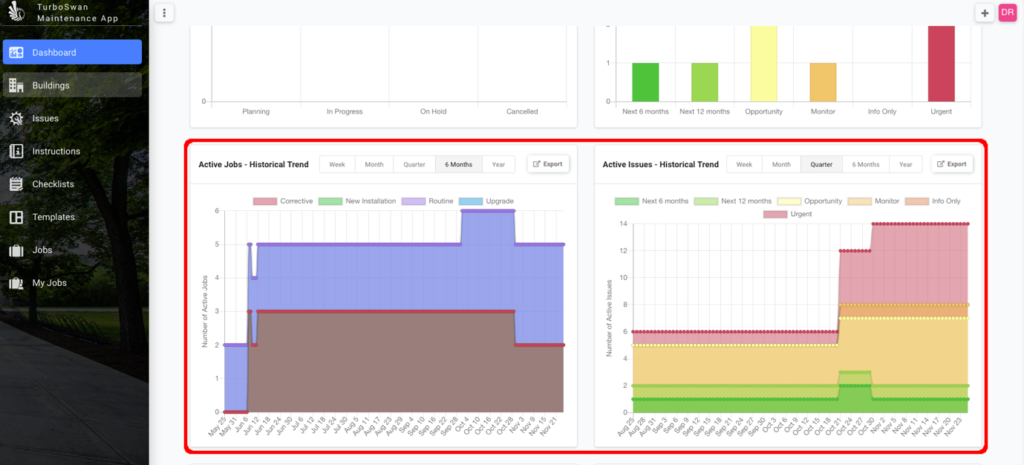
Step 2 – Scroll down on Dashboard to the “Active Jobs – Historical Trend” and “Active Issues – Historical Trend” graph.
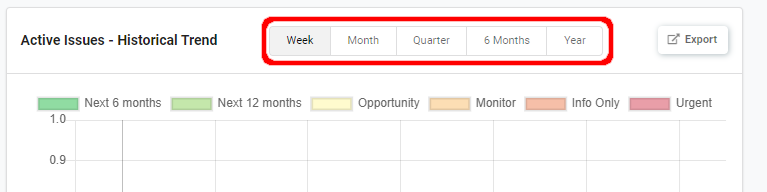
Step 3 – Select the duration of data you want exported from current date, e.g. a week, month, quarter, 6 months or year.
NOTE: This will show all Jobs or Issues from the current date back until the end of the range selected, i.e. If date is 01/07/2020 and “Month” is selected, this will show the current status of all jobs or issues between 01/06/2020 and 01/07/2020.

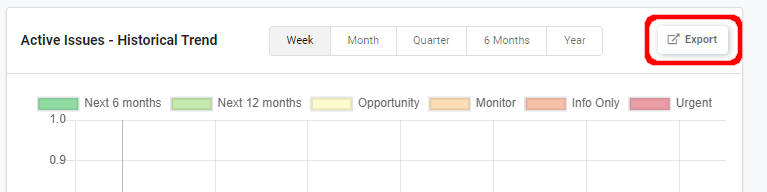
Step 4 – Once you have selected the duration, press the “Export” button to generate the respective report.
NOTE: Issues and Jobs are separate reports and the export button will need to be pressed for each graph to generate the reports. Ensure your browser allows multiple file downloads if pressing the buttons with minimal time delay.
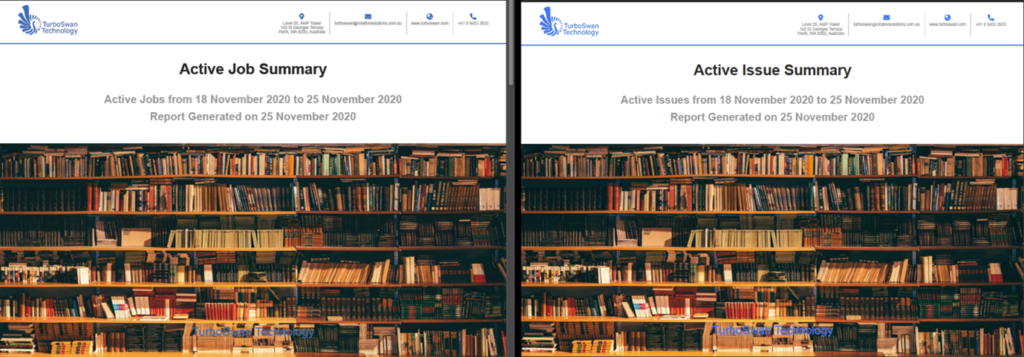
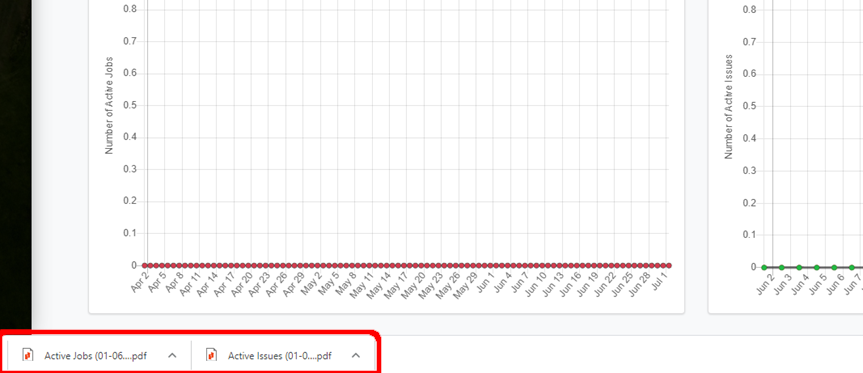
Step 5 – The reports will download and show at the bottom of your browser or in your “Downloads” file on your computer / device.
NOTE: Default file type is PDF, with name being “Active Jobs/Issues” followed by the selected date range.
Step 6 – Once downloaded, click the file to view the data or navigate to the downloaded file location on your device and Open PDF to review.